Application Infrastructure
Deploy Application Infrastructure
In this section, we will proceed to create an Application Stack based on the Base Infrastructure from the previous section, the resources will include the following:
- Application Load Balancer
- Launch Template and Auto Scaling Group
- IAM Role for EC2 instances to be managed by Systems Manager
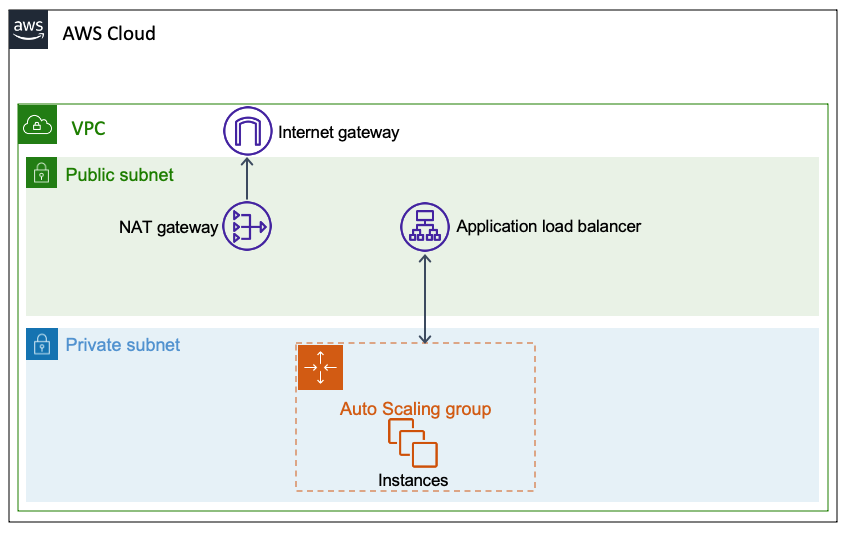
If we manually create these resources, the total time will be quite long and we cannot achieve the goal we set regarding automation. To save time as well as automate the initialization process, the CloudFormation Stack needs to be deployed as follows.
CloudFormation Stack
To proceed with infrastructure deployment, we will use the AWS CloudFormation service via the AWS Console or AWS CLI.
| Component | Value (Required) |
|---|---|
| Stack Name | pattern3-app |
| Template | pattern3-application.yml - download in the Template section below |
| BaselineVpcStack | pattern3-base |
Please download the template here:
AWS CLI
Here are the initialization steps via AWS CLI:
- Create CloudFormation Stack.
aws cloudformation create-stack --stack-name pattern3-app --template-body file://pattern3-application.yml --parameters ParameterKey=BaselineVpcStack,ParameterValue=pattern3-base --capabilities CAPABILITY_IAM --region ap-southeast-2

Wait for the Stack to complete creation. This process takes about 5 to 10 minutes because CloudFormation has to wait for the
cfn-signalfrom EC2 instances.aws cloudformation wait stack-create-complete --stack-name pattern3-app --region ap-southeast-2Verify that the CloudFormation Stack has been successfully created with the StackStatus as
CREATE_COMPLETE.aws cloudformation describe-stacks --stack-name pattern3-app --region ap-southeast-2 --query "Stacks[0].StackStatus" --output text
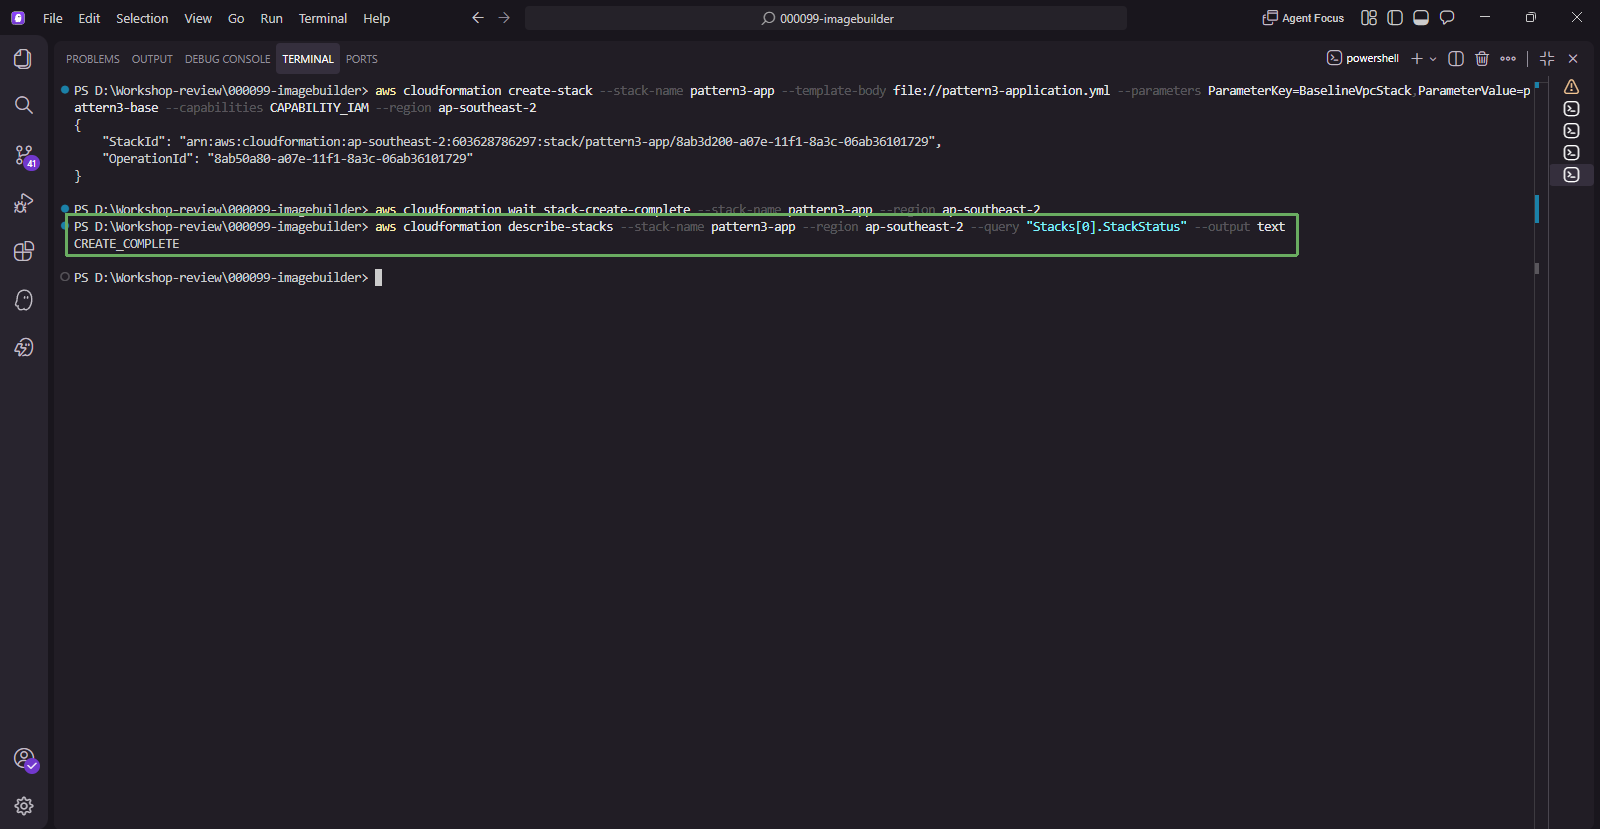
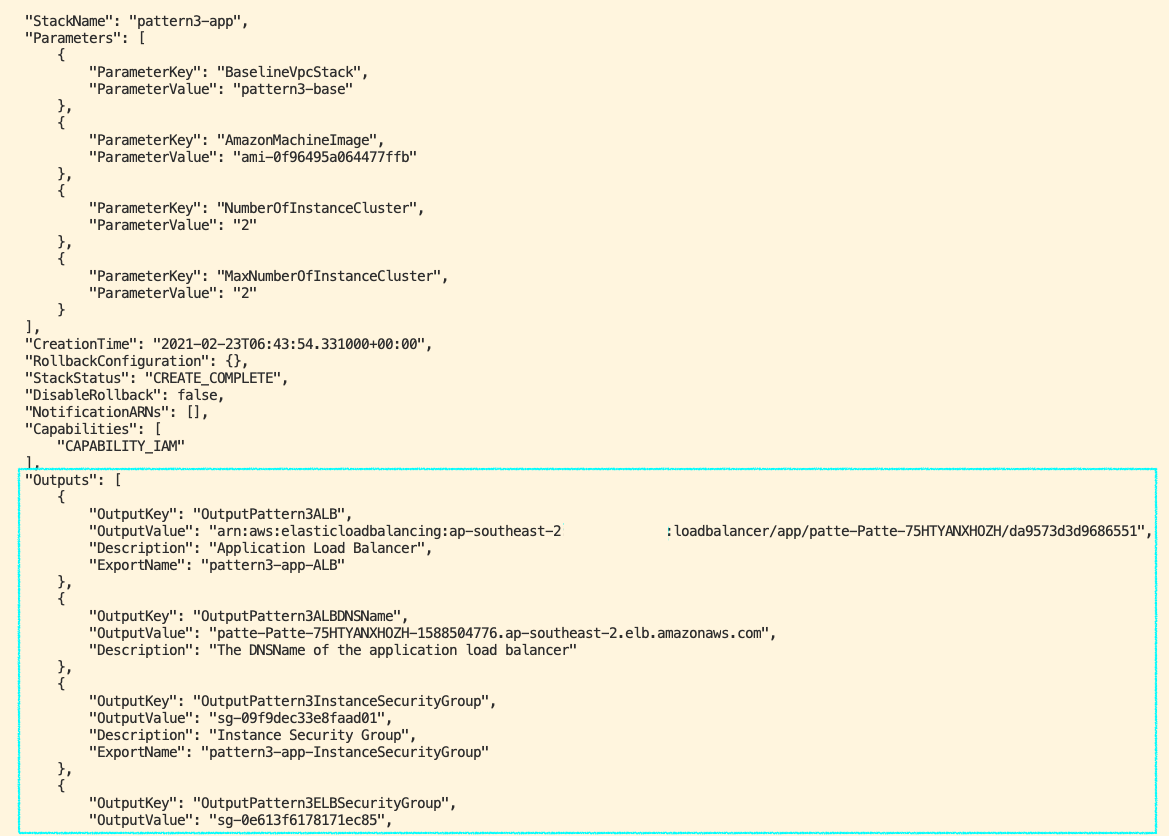
- Note down the values in Outputs, especially
OutputPattern3ALBDNSNameandOutputPattern3ActiveAmiId.aws cloudformation describe-stacks --stack-name pattern3-app --region ap-southeast-2 --query "Stacks[0].Outputs" --output table
AMI Selection Mechanism
The template declares two parameters related to the AMI, which is an important point to understand before moving to the automation section:
| Parameter | Type | Role |
|---|---|---|
LatestAmiId | AWS::SSM::Parameter::Value<AWS::EC2::Image::Id> | Automatically resolves to the latest Amazon Linux 2023 AMI. Used during the initial Stack creation. |
AmazonMachineImage | String, default empty | Where the SSM Automation Document in section 5 injects the newly created AMI ID from Image Builder. |
The selection logic lies in the Conditions:
Conditions:
  UseLatestAmi: !Equals [ !Ref AmazonMachineImage, "" ]
Thanks to this, initially you don’t need to know what the AMI ID is, and in the automation part, the new AMI will override the default value. You can check the latest Amazon Linux 2023 AMI in the Region using the following command:
aws ssm get-parameter --name /aws/service/ami-amazon-linux-latest/al2023-ami-kernel-default-x86_64 --region ap-southeast-2 --query "Parameter.Value" --output text
Verify CloudFormation Stack Output
Once the CloudFormation Stack is created successfully, we will proceed to verify whether the application has been deployed properly or not.
- From the CloudFormation Stack Outputs, find the value of
OutputPattern3ALBDNSName. - Try accessing it on a web browser and check if the result has the title
Welcome to FCAJ - AWS Study Group - Autonomous Patching Workshop.
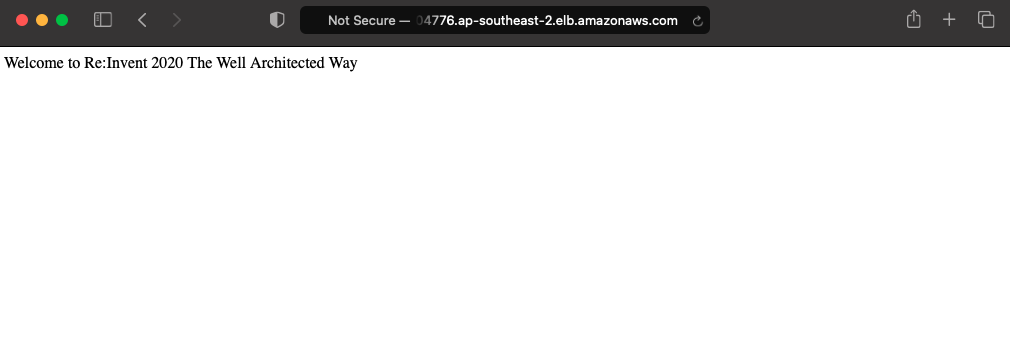
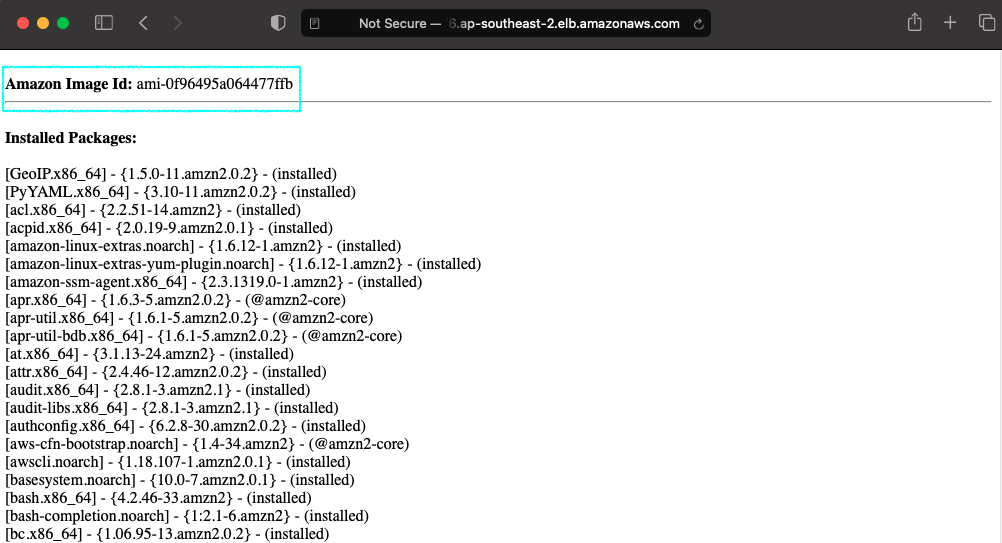
- At the URL path on the web browser, let’s append the following path -
/details.php. - Check if the result is a list of installed software. Please save the displayed data, including Operating System, Amazon Image Id, and the number of Installed Packages. We will cross-reference these values after the automated patching process finishes in section 5.
After the Stack is in CREATE_COMPLETE status and the details.php page displays correctly, we transition to the next section with the AMI Builder Pipeline.