AWS CLI
Sau đây là các bước khởi tạo thông qua AWS CLI:
- Khởi tạo CloudFormation Stack
aws cloudformation create-stack --stack-name pattern3-automate --template-body file://pattern3-automate.yml --parameters ParameterKey=ApplicationStack,ParameterValue=pattern3-app ParameterKey=ImageBuilderPipelineStack,ParameterValue=pattern3-pipeline --capabilities CAPABILITY_IAM --region ap-southeast-2

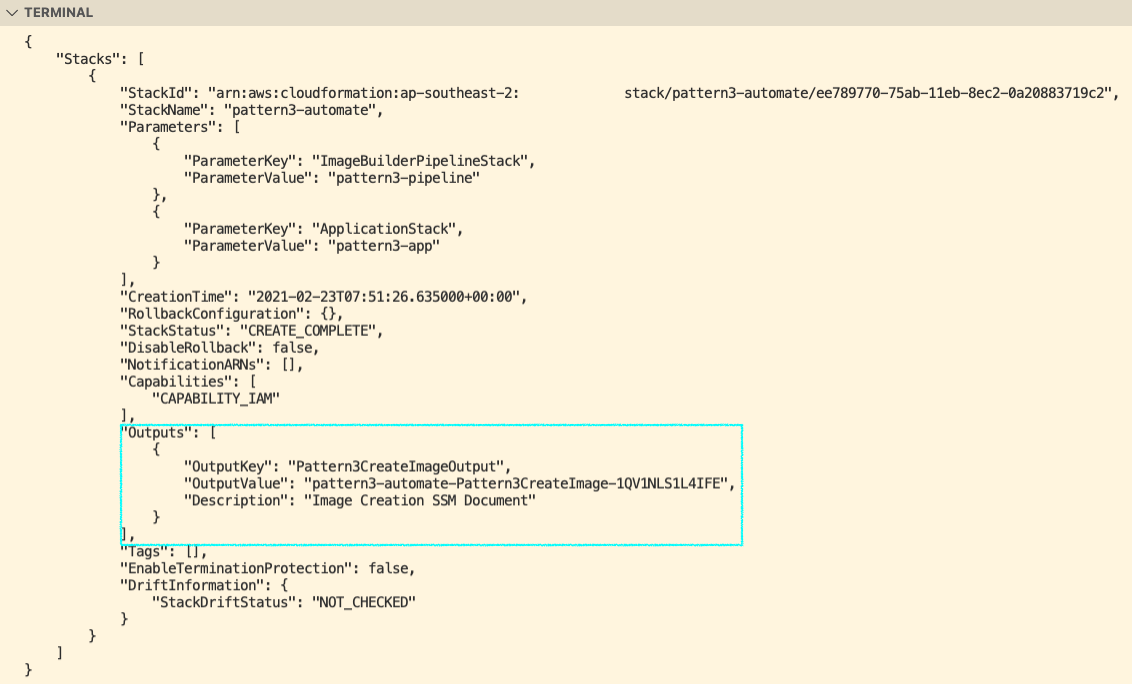
- Xác nhận CloudFormation Stack đã khởi tạo hoàn tất với StackStatus là
CREATE_COMPLETE.
aws cloudformation desribe-stacks --stack-name pattern3-automate --region ap-southeast-2
- Ghi chú lại các giá trị tại Output.
Chuẩn bị Automation Document
Các Bước Khởi Tạo
- Truy cập vào dịch vụ System Manager.
- Ở thanh điều hướng bên tay trái, ở phần Shared Resources, chọn Documents.
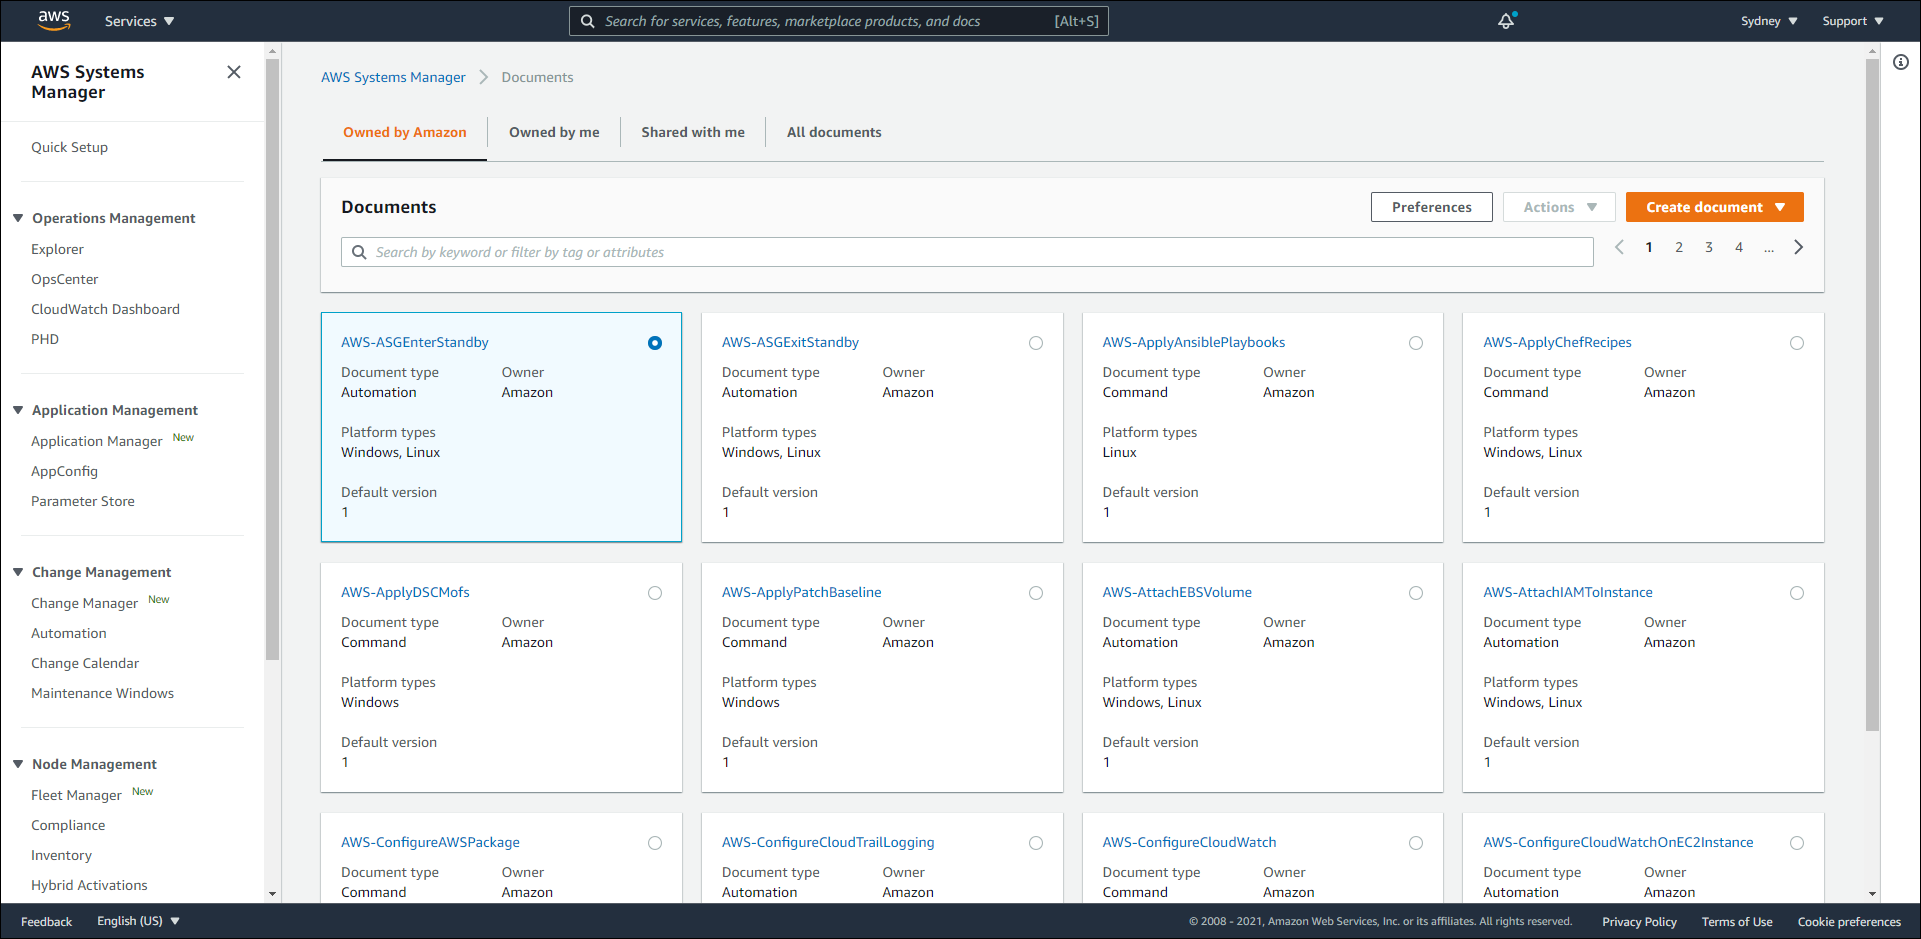
- Nhấn nút
Create Automation.
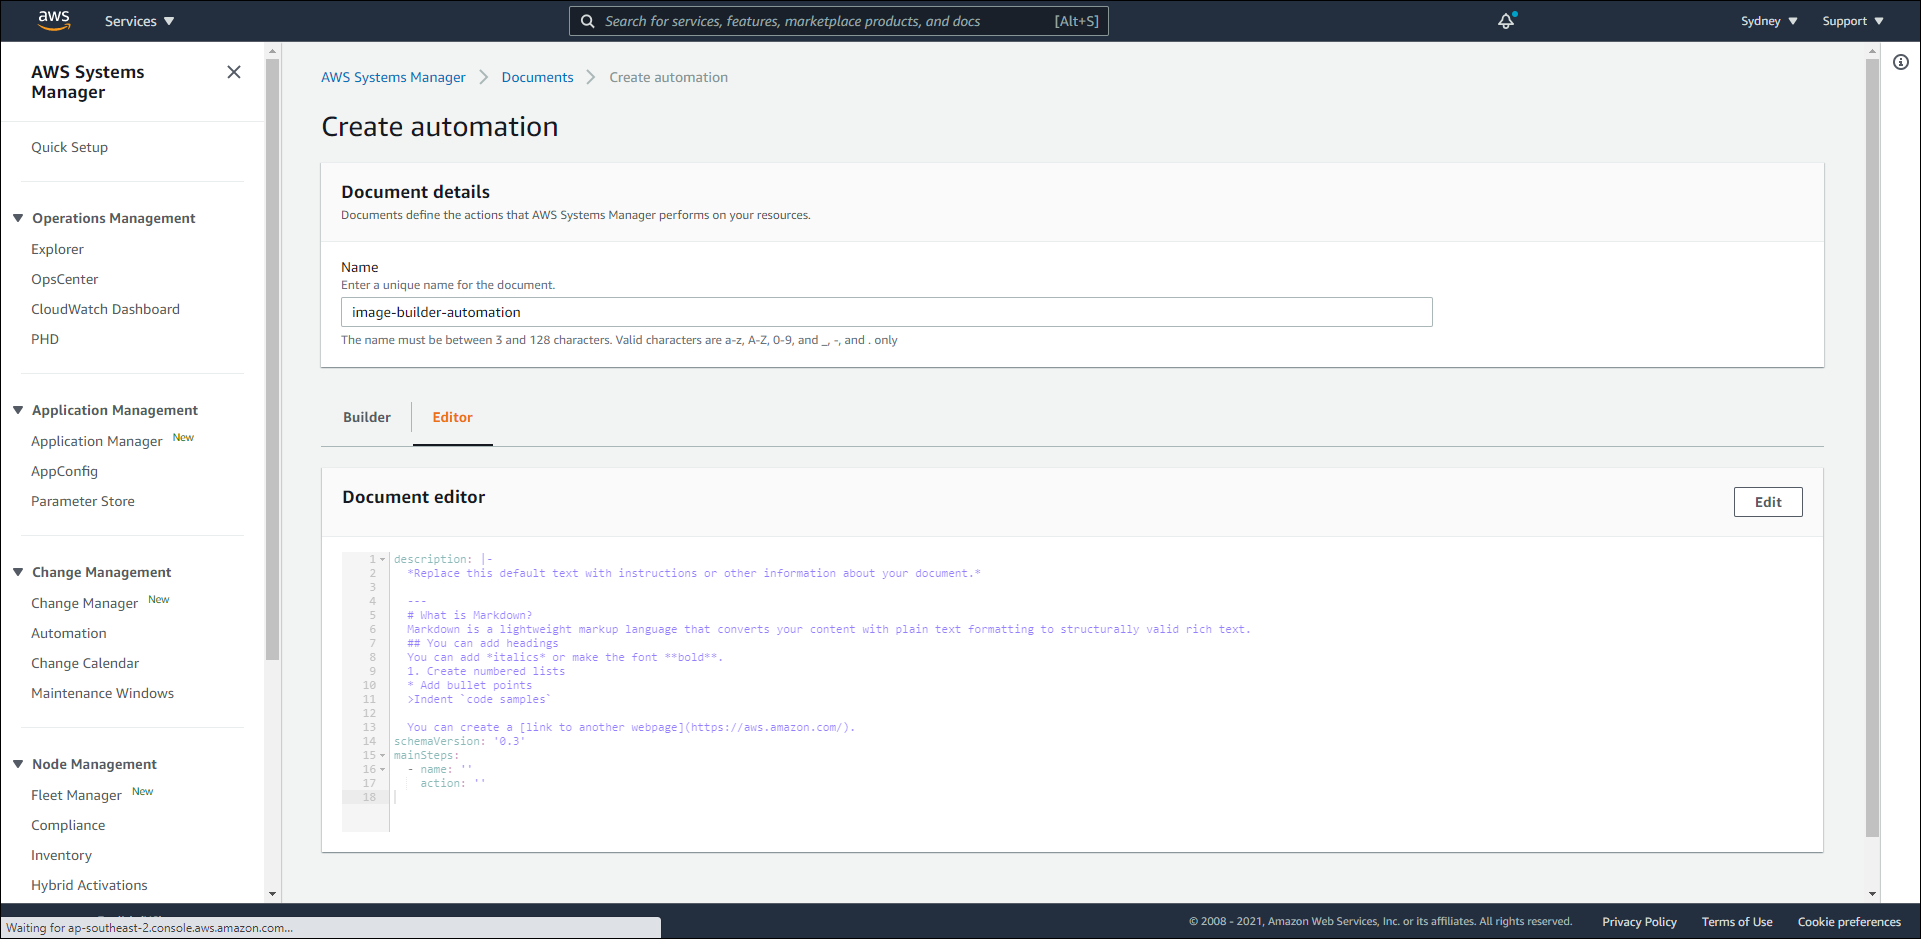
- Điền tên và chọn chế độ Editor để tiến hành điền đặc tả từ Console.
- Nhấn nút
Create Automation để tiến hành khởi tạo.
- Trước khi triển khai Automation Document này, chúng ta cần phải chuẩn bị Monitoring Script ở phần kế tiếp.
Chi Tiết Đặc Tả
Dưới đây là chi tiết đặc tả mà chúng ta sẽ điền vào:
- Đầu tiên chúng ta sẽ xác định
schemaVersion và định nghĩa các parameters.
ImageBuilderPipelineARN: tham khảo Builder Pipeline mà chúng ta đã tạo ở phần trước.ApplicationStack: tham khảo tên CloudFormation Stack mà chúng ta đã tạo ở phần trước - pattern3-app.
- Kế đến là đặc tả
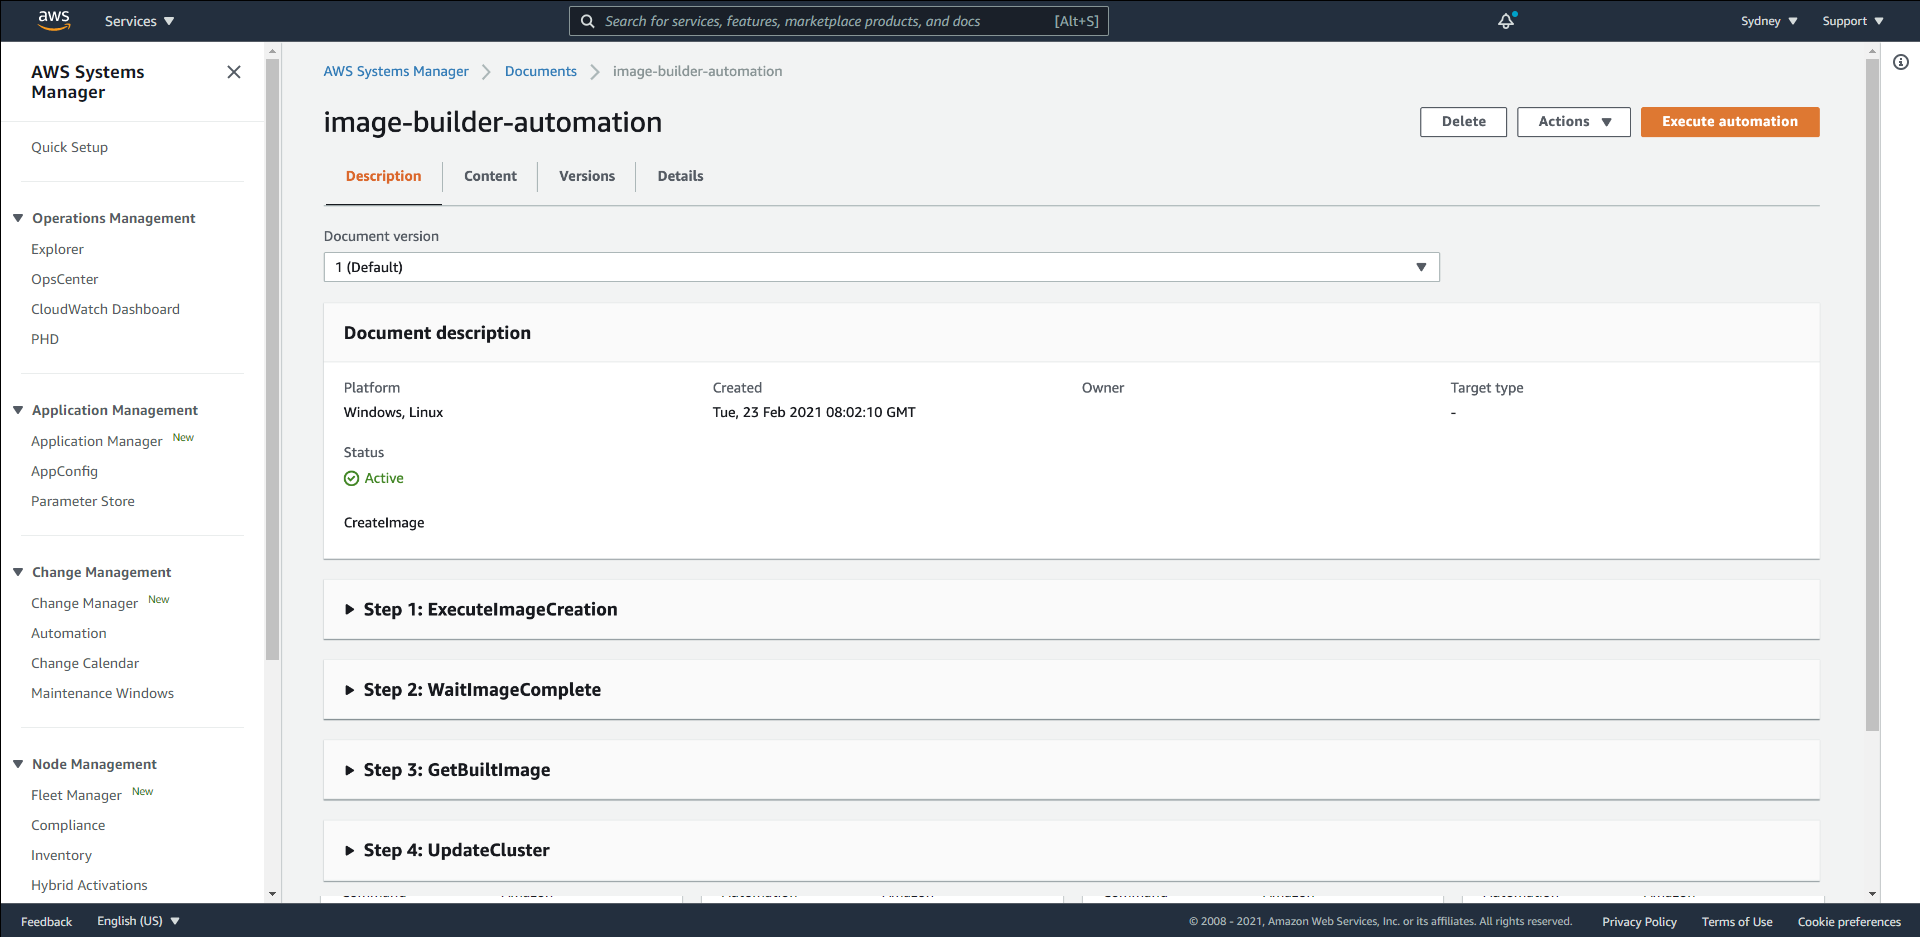
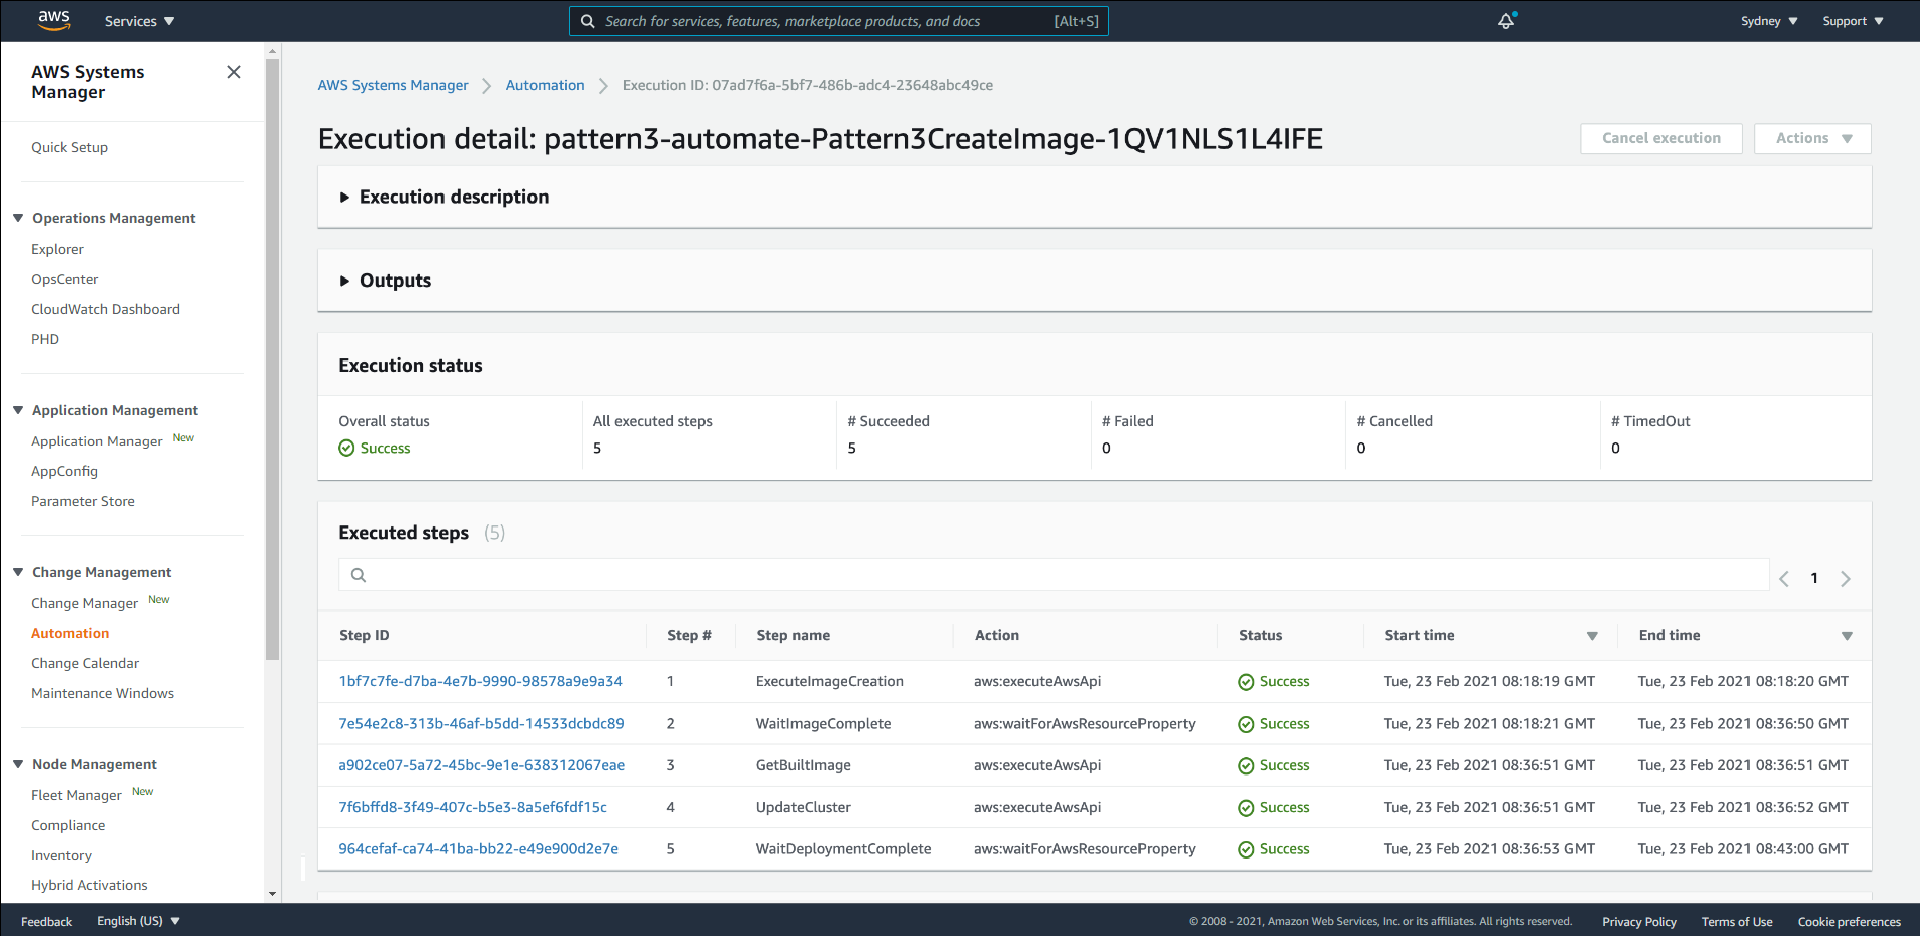
mainSteps, bằng việc sử dụng các giá trị của parameters, chúng ta có thể tạo hành động tên là ExecuteImageCreation thông qua AWS API aws:executeAwsApi.
- Sau đó, chúng ta cần đợi cho đến khi ExecuteImageCreation hoàn tất với AWS API
aws:waitForAwsResourceProperty.
- Một khi ExecuteImageCreation hoàn tất, chúng ta tiến hành tạo hành động tên là GetBuiltImage nhắm lấy được các thông tin cần thiết là AMI ID và truyền giá trị này đến bước kế tiếp.
- Sau khi có được AMI ID, chúng ta sẽ tạo hành động tiến hành cập nhật CloudFormation Stack tên là UpdateCluster.
- Tiến hành đợi một khi quá trình cập nhật hoàn tất với trạng thái
UPDATE_COMPLETE.
description: CreateImage
schemaVersion: '0.3'
parameters:
  ImageBuilderPipelineARN:
    description: (Required) Corresponding EC2 Image Builder Pipeline to execute.
    type: String
  ApplicationStack:
    description: (Required) Corresponding Application Stack to Deploy the Image to.
    type: String
mainSteps:
  - name: ExecuteImageCreation
    action: aws:executeAwsApi
    maxAttempts: 10
    timeoutSeconds: 3600
    onFailure: Abort
    inputs:
      Service: imagebuilder
      Api: StartImagePipelineExecution
      imagePipelineArn: '{{ ImageBuilderPipelineARN }}'
    outputs:
    - Name: imageBuildVersionArn
      Selector: $.imageBuildVersionArn
      Type: String
  - name: WaitImageComplete
    action: aws:waitForAwsResourceProperty
    maxAttempts: 10
    timeoutSeconds: 3600
    onFailure: Abort
    inputs:
      Service: imagebuilder
      Api: GetImage
      imageBuildVersionArn: '{{ ExecuteImageCreation.imageBuildVersionArn }}'
      PropertySelector: image.state.status
      DesiredValues:
        - AVAILABLE
- name: GetBuiltImage
  action: aws:executeAwsApi
  maxAttempts: 10
  timeoutSeconds: 3600
  onFailure: Abort
  inputs:
    Service: imagebuilder
    Api: GetImage
    imageBuildVersionArn: '{{ ExecuteImageCreation.imageBuildVersionArn }}'
  outputs:
  - Name: image
    Selector: $.image.outputResources.amis[0].image
    Type: String
- name: UpdateCluster
  action: aws:executeAwsApi
  maxAttempts: 10
  timeoutSeconds: 3600
  onFailure: Abort
  inputs:
    Service: cloudformation
    Api: UpdateStack
    StackName: '{{ ApplicationStack }}'
    UsePreviousTemplate: true
    Parameters:
      - ParameterKey: BaselineVpcStack
        UsePreviousValue: true
      - ParameterKey: AmazonMachineImage
        ParameterValue: '{{ GetBuiltImage.image }}'
    Capabilities:
      - CAPABILITY_IAM
- name: WaitDeploymentComplete
  action: aws:waitForAwsResourceProperty
  maxAttempts: 10
  timeoutSeconds: 3600
  onFailure: Abort
  inputs:
    Service: cloudformation
    Api: DescribeStacks
    StackName: '{{ ApplicationStack }}'
    PropertySelector: Stacks[0].StackStatus
    DesiredValues:
      - UPDATE_COMPLETE
Chuẩn bị Monitoring Script
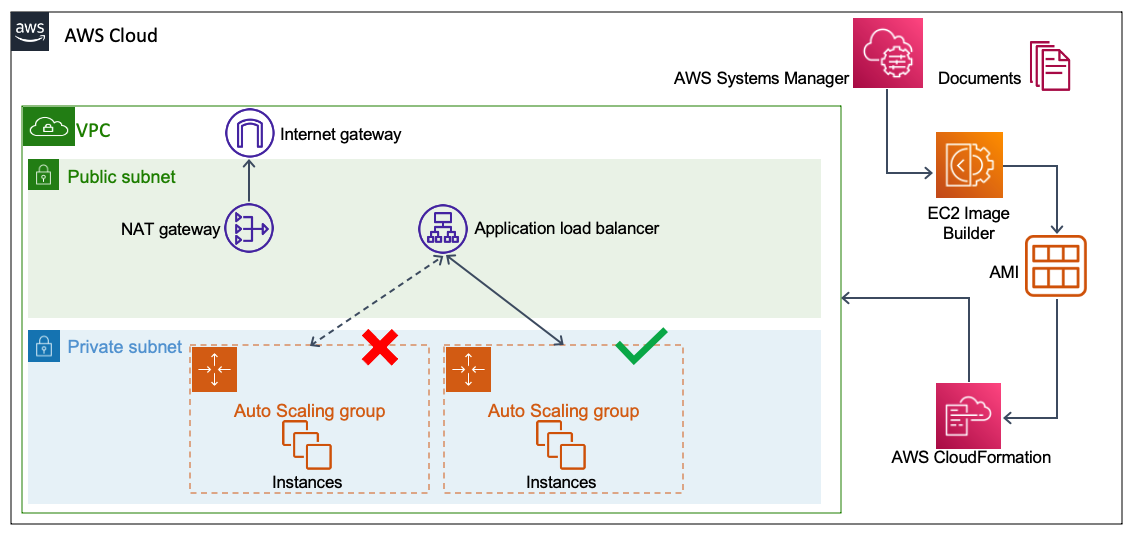
Chúng ta tiến hành chuẩn bị một quá trình theo dõi cơ bản nhằm liên tục gửi tin nhắn đến đường dẫn URL của Application Load Balancer trước khi thực thi Automation Document. Khi đó, chúng ta có thể theo dõi hoàn toàn quá trình trước và sau khi thay đổi.
./watchscript.sh http://<ALB_DNS_URL>

Đoạn mã sẽ liên tục gửi và lấy kết quả trả về cùng với StatusCode.
Thực thi Automation Document
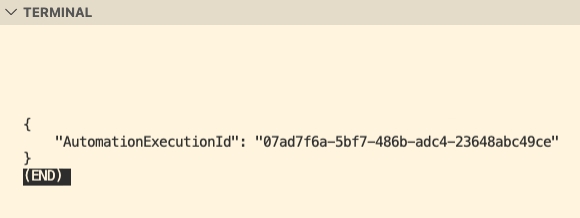
- Một khi Monitoring Script được chuẩn bị, chúng ta tiến hành thực thi Automation Document.
aws ssm start-automation-execution --document-name <SSM_DOCUMENT_AUTOMATION_NAME> --parameters "ApplicationStack=pattern3-app,ImageBuilderPipeline=<BUILDER_PIPELINE_ARN>" --region ap-southeast-2
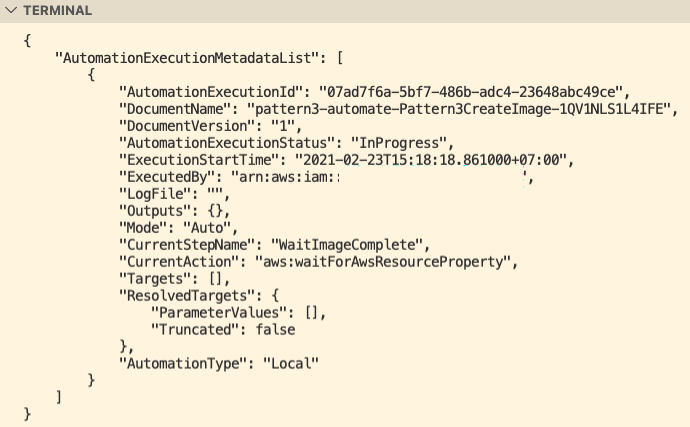
- Kiểm tra trạng thái của Automation Document.
aws ssm describe-automation-executions --filter "Key=ExecutionId,Values=<EXECUTION_ID>" --region ap-southeast-2
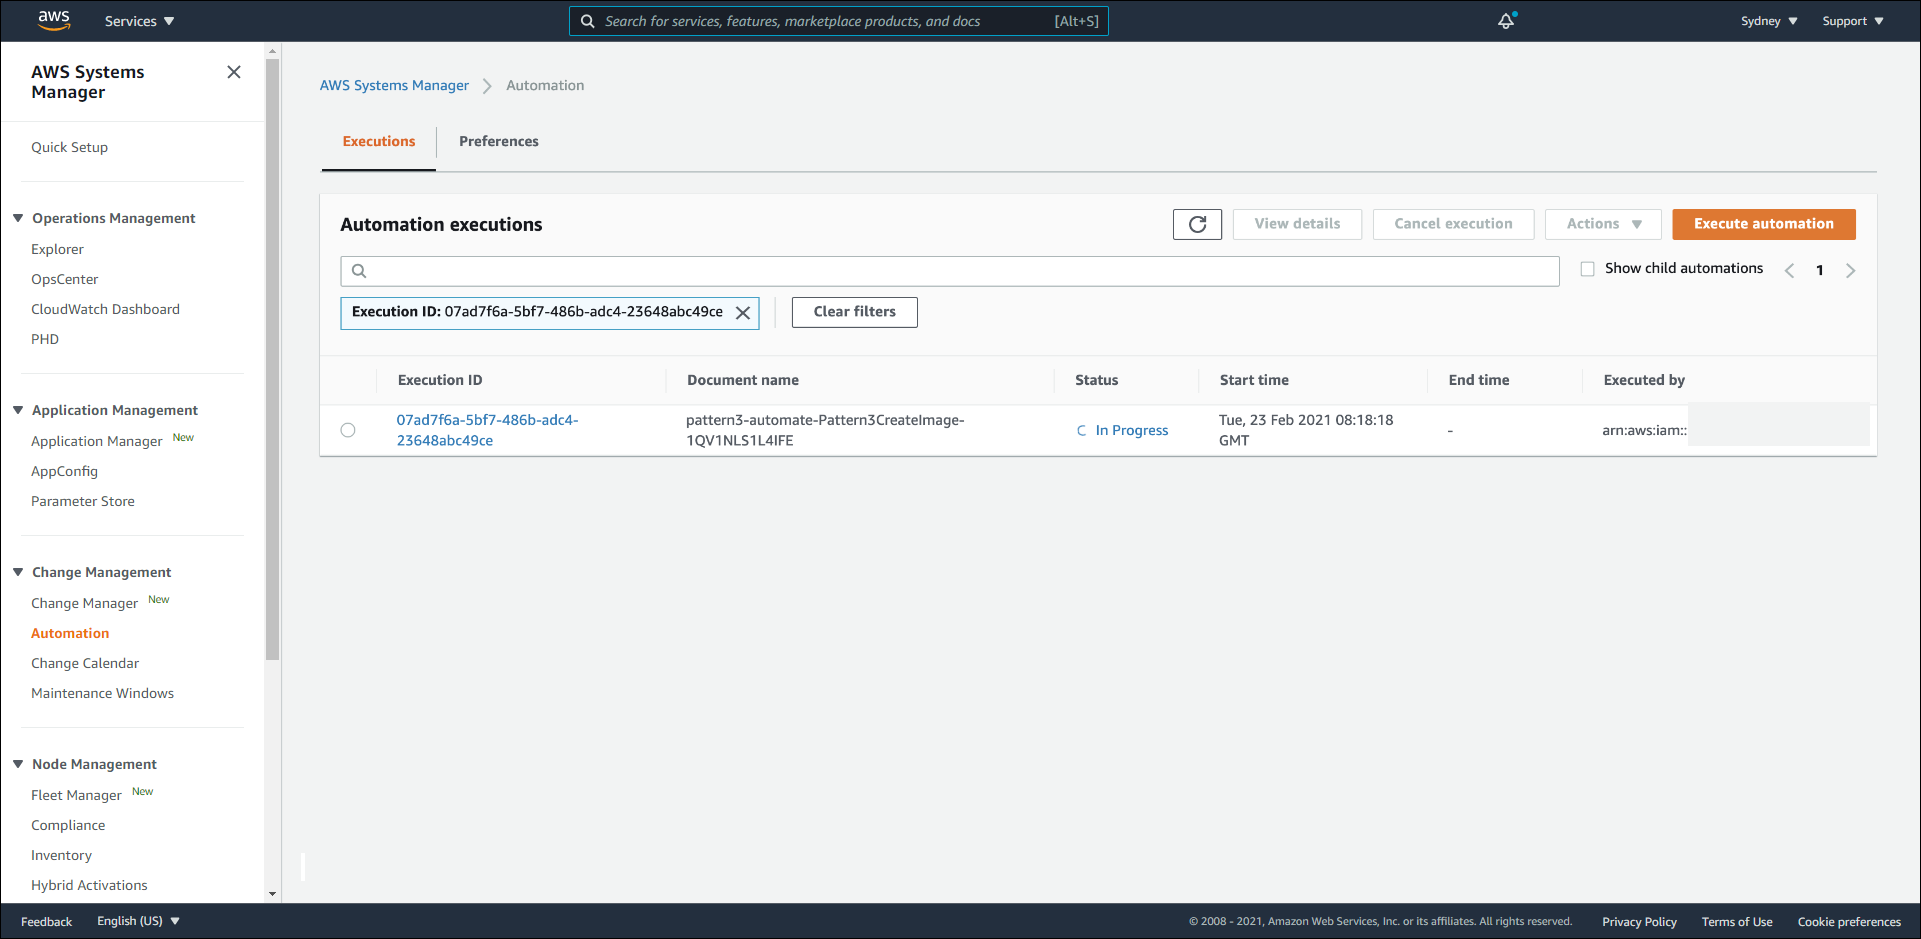
Từ AWS Console, chúng ta có thể theo dõi từng bước và trạng thái:
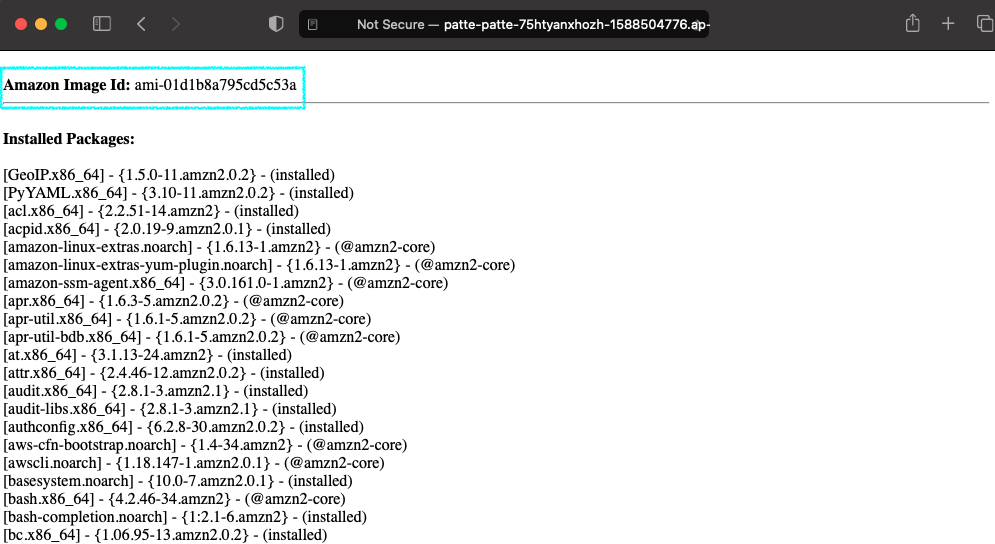
Xác Minh AMI ID
Chúng ta sẽ tiến hành xác minh AMI ID mới liệu đã được cập nhật hay chưa bằng cách truy cập vào đường dẫn DNS URL của Application Load Balancer.
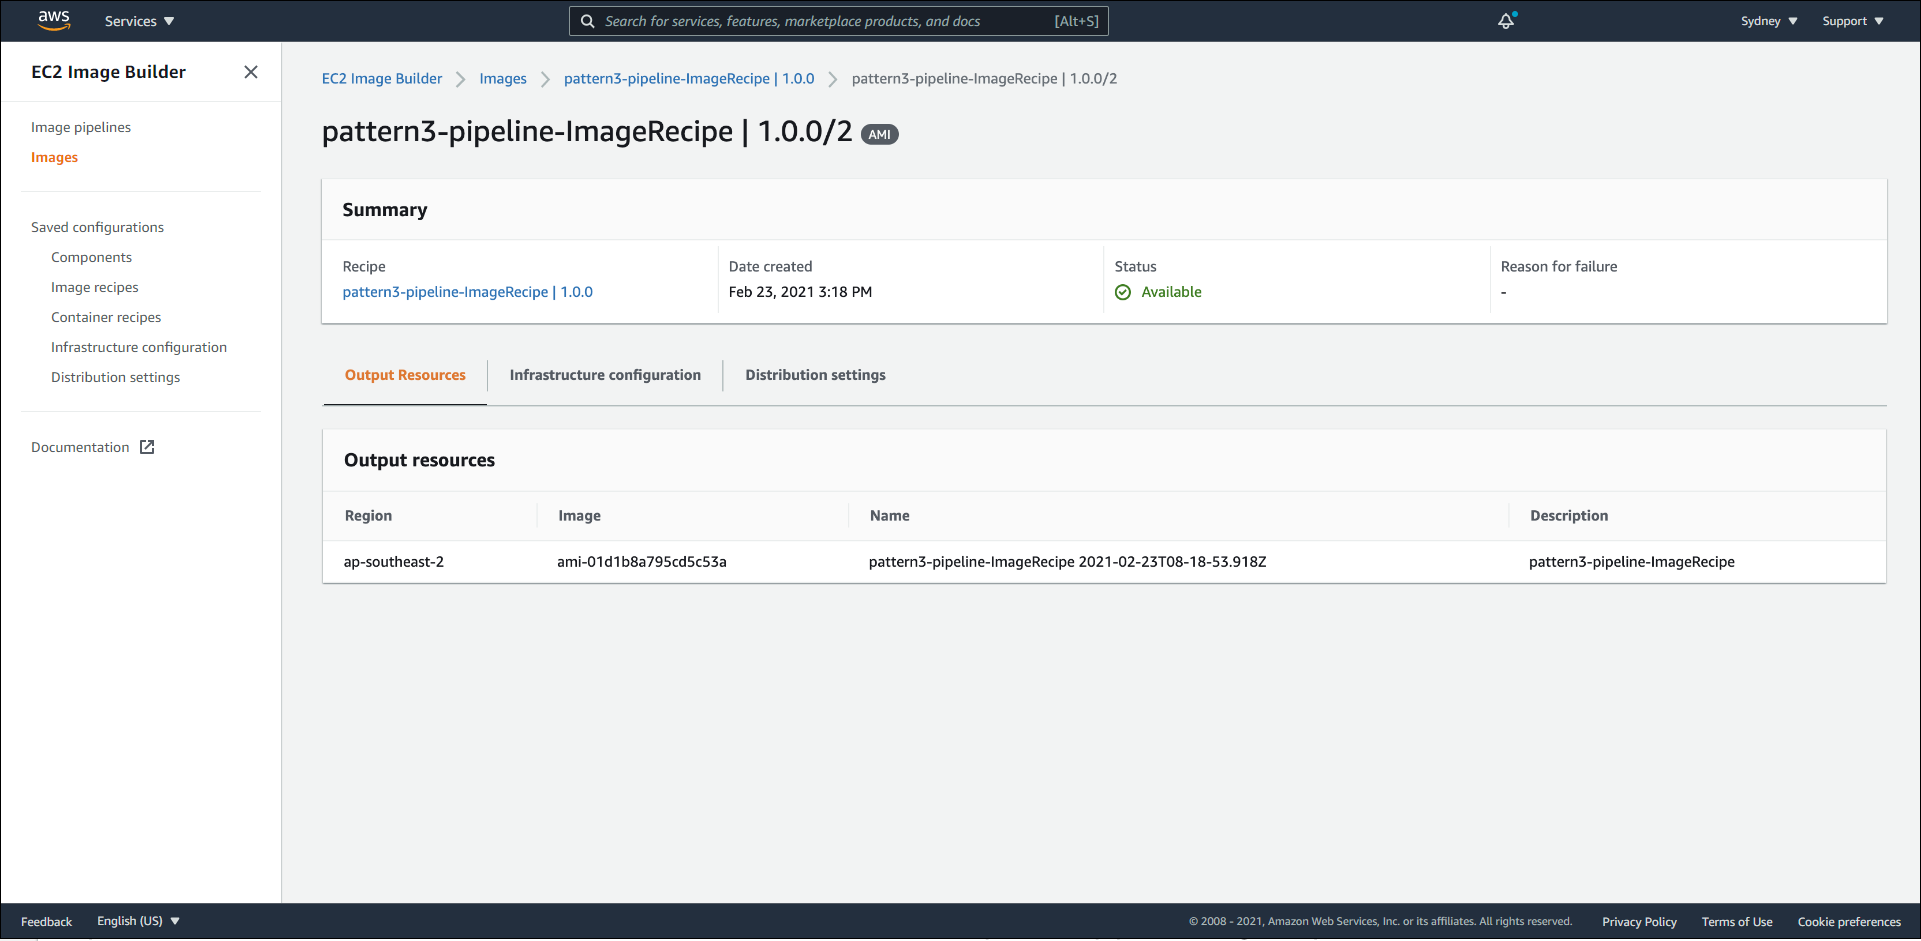
Tại bước Step 1: ExecuteImageCreation, ở phần Outputs, chúng ta lấy thông tin của Pipeline Execution ARN.
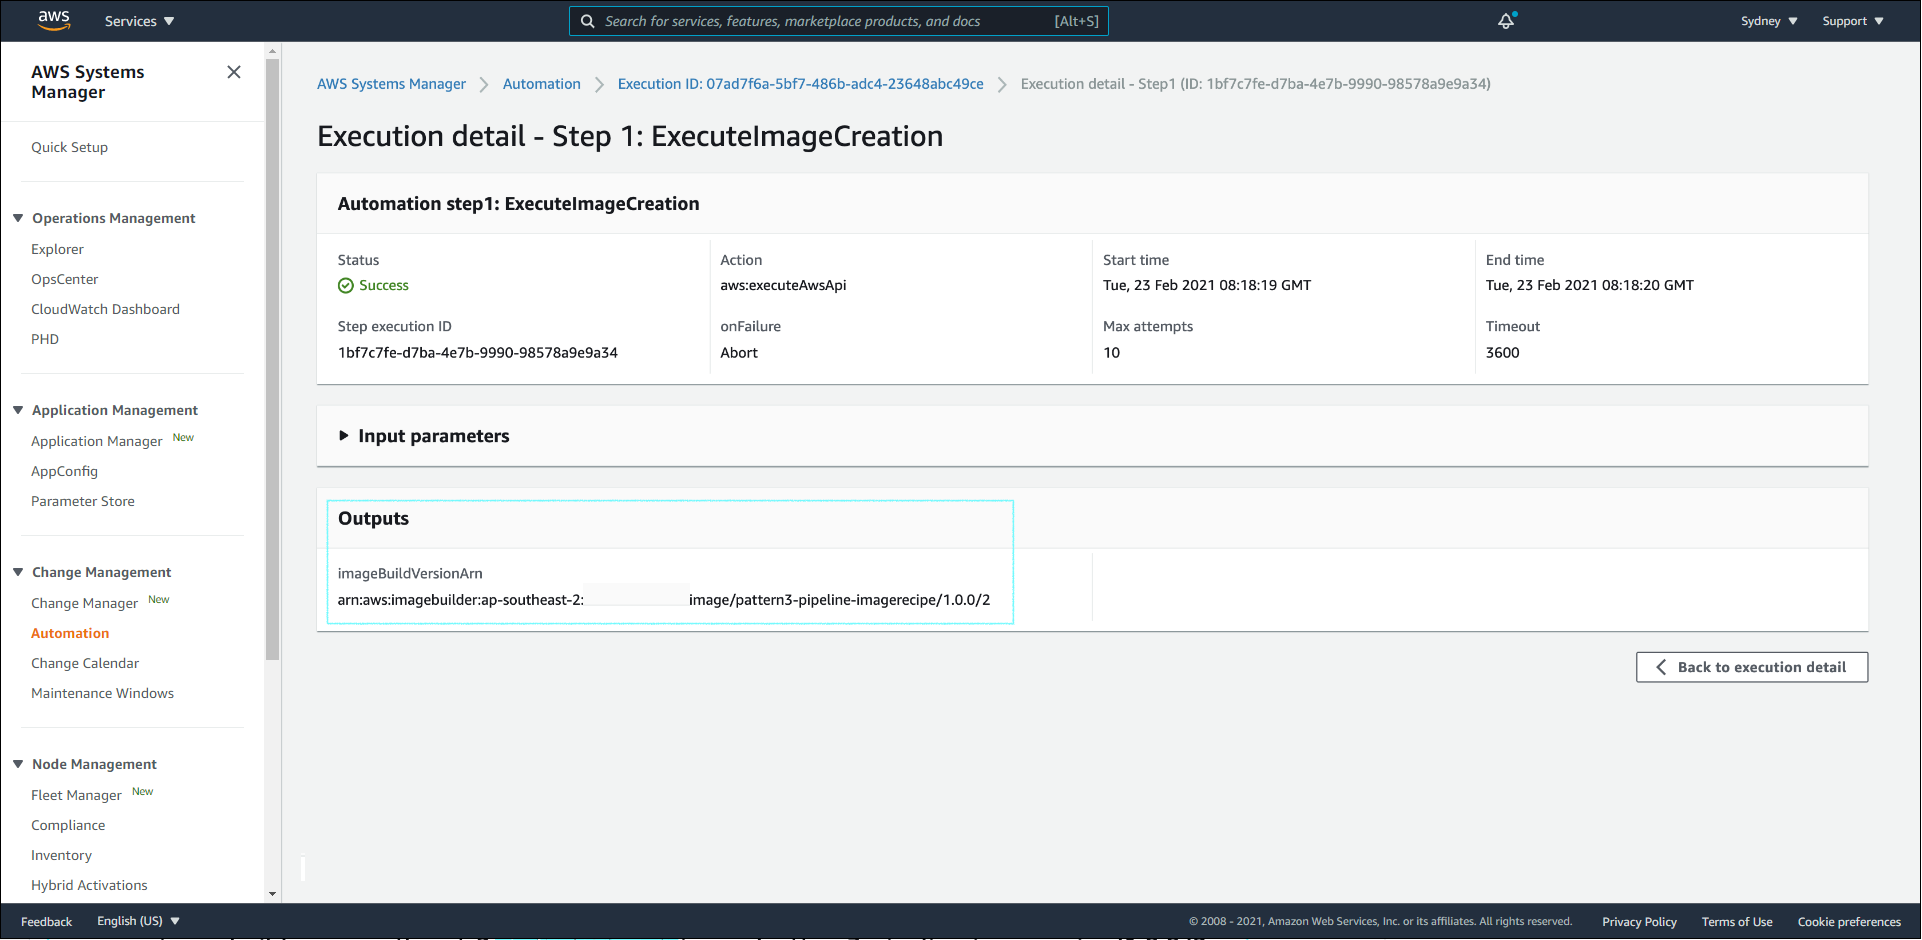
Sau đó, chúng ta có thể đối chiếu với giá trị ở dịch vụ EC2 Image Builder.
